Your phone has 5,000 photos. Your computer has room for them, but you have no idea how to get them there. You’ve tried before and got frustrated. The cable doesn’t work, the wireless option is confusing, and you’re worried you’ll delete everything by accident.
Here’s the truth: transferring photos isn’t complicated. Tech companies just make it seem that way with fifteen different methods that all kind of work but none perfectly.
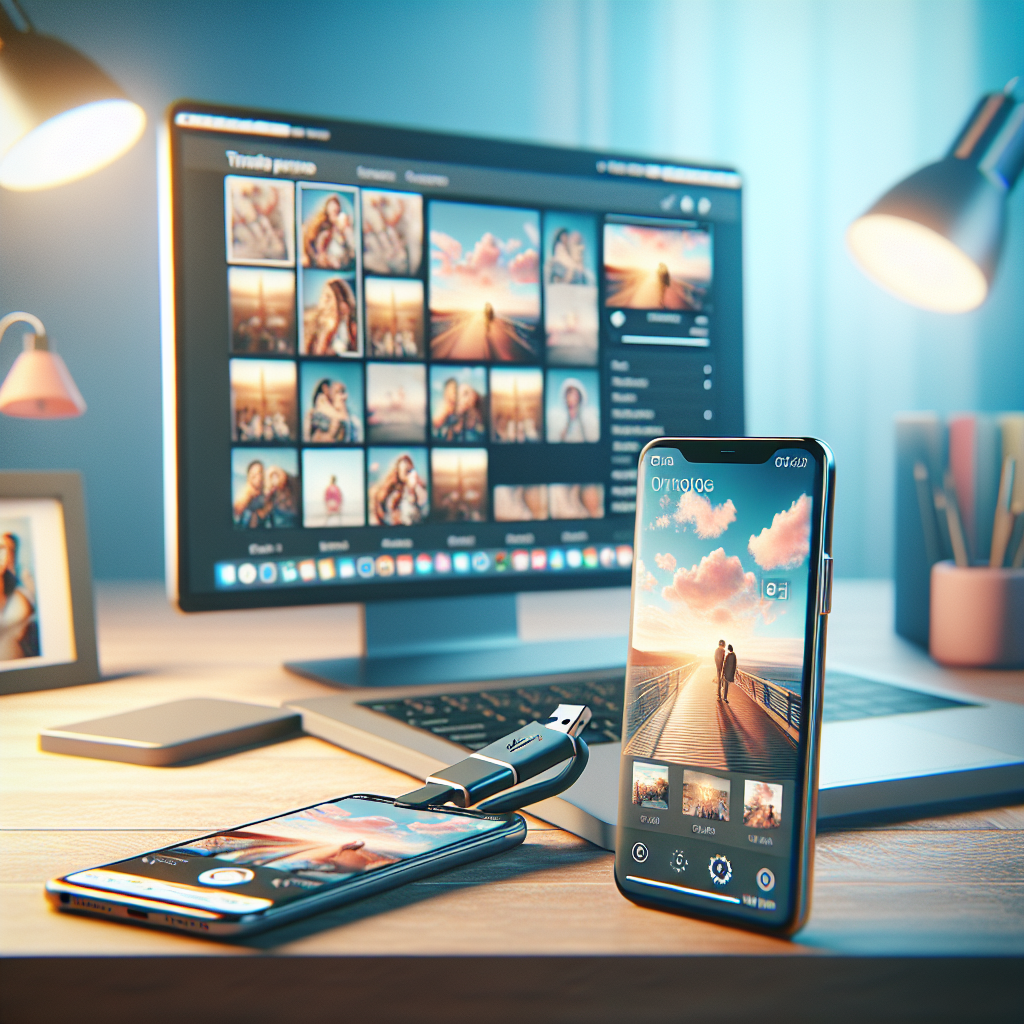
This guide cuts through the confusion. I’ll show you the easiest, most reliable ways to move your photos from phone to computer, whether you have an iPhone or Android, Mac or Windows.
Method 1: USB Cable (Most Reliable, Works Anywhere)
This is old-school, but it works every time. No internet needed, no cloud services, just a direct connection.
For iPhone to Windows
What you need: iPhone, Lightning/USB-C cable, Windows computer
Steps:
- Connect iPhone to computer with cable
- Unlock your iPhone
- If prompted "Trust This Computer?" tap "Trust"
- Enter your iPhone passcode
- On Windows, open File Explorer
- Look for your iPhone under "This PC" or "Devices"
- Open "Internal Storage" > "DCIM" > folder with photos
- Select photos you want (Ctrl+A for all)
- Copy (Ctrl+C) and paste (Ctrl+V) to your Pictures folder
- Wait for transfer to complete
- Safely eject iPhone before unplugging
Pro tip: Photos are organized by date in numbered folders (100APPLE, 101APPLE, etc.)
For iPhone to Mac
What you need: iPhone, Lightning/USB-C cable, Mac
Steps:
- Connect iPhone to Mac with cable
- Unlock iPhone and trust the computer if prompted
- Photos app should open automatically
- Click "Import"
- Select "Import All New Photos" or select specific photos
- Choose import location
- Wait for import to complete
- If you want, check "Delete items after import" to free phone space
Alternative method:
- Open Image Capture app (in Applications)
- Select your iPhone in sidebar
- Choose destination folder
- Click "Import All" or select specific photos
For Android to Windows
What you need: Android phone, USB cable, Windows computer
Steps:
- Connect Android to computer with USB cable
- Pull down notification shade on phone
- Tap "USB" notification
- Select "File Transfer" or "Transfer files"
- On Windows, open File Explorer
- Click on your phone’s name under "Devices"
- Navigate to "DCIM" > "Camera"/li>
- Select photos (Ctrl+A for all)
- Copy and paste to your Pictures folder
- Wait for transfer
- Safely eject phone
If phone doesn’t appear:
- Try a different USB port
- Try a different cable
- Enable "File Transfer" in phone settings > Developer options
For Android to Mac
What you need: Android phone, USB cable, Mac, Android File Transfer app
First time setup:
- Download Android File Transfer from android.com/filetransfer
- Install the app
- This only needs to be done once
Steps:
- Connect Android to Mac
- Unlock phone
- Select "File Transfer" mode
- Android File Transfer app opens automatically
- Navigate to DCIM > Camera
- Drag photos to your Mac’s Pictures folder
- Wait for transfer
- Safely eject phone
Method 2: Cloud Services (Automatic Backups)
Cloud services automatically back up your photos, then you access them on your computer. Set it up once, forget about it.
For iPhone Users: iCloud Photos
Setup (one time):
- iPhone: Settings > [Your Name] > iCloud > Photos
- Turn on "iCloud Photos"
- Choose "Optimize iPhone Storage" (keeps full-res in cloud)
- Wait for photos to upload (requires WiFi)
Access on Windows:
- Download iCloud for Windows from apple.com/icloud/setup/pc.html
- Install and sign in with Apple ID
- Check "Photos"
- Click "Options" next to Photos
- Enable "Download new photos and videos"
- Photos appear in File Explorer > iCloud Photos
Access on Mac:
- System Settings > Apple ID > iCloud
- Turn on "Photos"
- Open Photos app
- Your iPhone photos appear automatically
Storage: 5GB free, then $0.99/month for 50GB
For Android Users: Google Photos
Setup (one time):
- Download Google Photos app (if not installed)
- Open app and sign in with Google account
- Tap profile icon > Photos settings
- Turn on "Back up & sync"
- Choose quality (High quality = free unlimited, Original = uses Google Drive storage)
- Connect to WiFi and let photos upload
Access on any computer:
- Go to photos.google.com
- Sign in with same Google account
- Your photos are there
- Click three dots > Download to save to computer
- Or use Google Drive app to sync automatically
Download all photos at once:
- Go to takeout.google.com
- Deselect all products
- Select only "Google Photos"
- Click "Next step"
- Choose delivery method (Download link)
- Click "Create export"
- Wait for email with download link
- Download the zip file
- Extract to your computer
Storage: 15GB free (shared with Gmail and Drive), then $1.99/month for 100GB
Method 3: WiFi Transfer (No Cables)
Transfer without any cables using apps or built-in features.
For iPhone to Mac: AirDrop
Requirements: iPhone and Mac must be close together, Bluetooth and WiFi enabled
Setup:
- On Mac: Finder > AirDrop > "Allow me to be discovered by: Everyone"
- On iPhone: Control Center > Long press network box > turn on WiFi and Bluetooth
Transfer:
- iPhone: Open Photos app
- Select photos you want to transfer
- Tap Share button (box with arrow)
- Tap your Mac’s name in AirDrop section
- On Mac: Click "Accept"
- Photos save to Downloads folder
For iPhone to Windows: Windows Phone Link
Setup (first time):
- Windows: Search for "Phone Link" app
- Open and click "Get Started"
- Follow prompts to pair iPhone
- iPhone: Install Phone Link app from App Store
- Sign in to same Microsoft account
Transfer:
- Open Phone Link on Windows
- Click "Photos"
- Select photos to download
- Click "Save" button
For Android to Any Computer: Google Photos Website
- Upload from phone (see cloud method above)
- Access photos at photos.google.com
- Select and download
Using Third-Party Apps
For all devices: Snapdrop (snapdrop.net)
- Open snapdrop.net on both phone and computer
- Both must be on same WiFi network
- Phone and computer should appear on each other’s screen
- Select photos on phone
- Share to snapdrop
- Accept on computer
- Photos download
Works: Phone to phone, computer to computer, any combination
Method 4: Email (Quick and Easy for Few Photos)
For just a handful of photos, email is simplest:
- Open Photos app on phone
- Select 1-10 photos (more takes too long)
- Tap Share
- Choose Email/Gmail
- Send to yourself
- Open email on computer
- Download attachments
Limitations:
- Only good for small numbers of photos
- Email providers limit attachment sizes
- Photos may be compressed
Method 5: Messaging Apps (Quick Sharing)
Use apps you already have:
WhatsApp Web:
- Open whatsapp.com/web on computer
- Scan QR code with phone
- Send photos to yourself in a chat
- Download from web interface
Telegram:
- Install Telegram on phone and computer
- Create a private channel or use "Saved Messages"
- Send photos from phone
- Download on computer
Discord:
- Create a private server or use DMs with yourself
- Upload photos from phone
- Download on computer
Method 6: External Storage Devices
USB Flash Drive with Phone Adapter
For iPhone:
- Buy Lightning to USB adapter
- Connect flash drive to adapter
- Use Files app to copy photos
For Android:
- Buy USB-C flash drive or adapter
- Connect directly
- Use file manager to copy photos
SD Card Reader
For Android phones with SD card slots:
- Save photos to SD card on phone
- Remove SD card
- Insert into computer’s SD card reader
- Copy photos
Choosing the Right Method For You
Use USB cable if:
- You want guaranteed reliability
- You transfer photos infrequently
- You don’t want to pay for cloud storage
- Internet is slow or unreliable
Use cloud services if:
- You want automatic backups
- You access photos from multiple devices
- You’re okay paying a small monthly fee
- You have good internet
Use WiFi transfer if:
- You transfer photos frequently
- You don’t want to deal with cables
- You’re already on same WiFi network
Use email/messaging if:
- You only need to transfer a few photos right now
- It’s a one-time thing
- You don’t want to set anything up
Common Problems and Solutions
Problem: "Device Not Recognized" (USB Transfer)
Solutions:
- Try a different USB cable (cables go bad)
- Try a different USB port on computer
- Restart both phone and computer
- Update phone and computer software
- On Windows: Update device drivers
- On iPhone: Tap "Trust" when prompted
- On Android: Make sure you selected "File Transfer" mode
Problem: Photos Won’t Import
Solutions:
- Check if storage is full on computer
- Make sure photos aren’t corrupted
- Try importing in smaller batches
- Use a different transfer method
- On iPhone: Disable iCloud Photos temporarily
- On Android: Clear cache of Gallery app
Problem: Photos Stuck "Uploading" to Cloud
Solutions:
- Connect to WiFi (not cellular)
- Plug phone into charger (many apps pause on low battery)
- Check if you have enough cloud storage
- Restart the app
- Check internet connection speed
- Pause and resume upload
Problem: Photos Transfer But Can’t Find Them
Windows default location: C:Users[YourName]Pictures
Mac default location: Pictures folder in Finder
Check:
- Downloads folder (common accidental location)
- Desktop
- Use search: Windows (Start > search for file name), Mac (Spotlight > search)
Problem: Transfer is Extremely Slow
Solutions:
- Use USB 3.0 port (usually blue inside)
- Use a better quality cable
- Close other programs using internet/storage
- Transfer in smaller batches
- Use wired connection instead of WiFi
- Compress photos first (if quality loss acceptable)
After Transfer: Next Steps
Organize Your Photos
Don’t just dump them all:
- Create folders by year: 2023, 2024, 2025
- Within each year, create folders by month or event
- Delete duplicates and blurry photos as you organize
- Name folders meaningfully: "2024-06-Hawaii-Vacation"
Back Up Your Computer’s Photos
Now that photos are on your computer, back them up:
- External hard drive (manual backups)
- Cloud storage (automatic backups)
- Both (safest option)
Free Up Phone Space
Once photos are safely backed up:
- Verify photos transferred correctly
- Open them on computer to confirm
- Then delete from phone
- Or use "Optimize Storage" options to keep thumbnails
Consider Photo Management Software
For serious organization:
- Windows: Use Photos app (built-in) or Adobe Lightroom
- Mac: Use Photos app (built-in) or Adobe Lightroom
- Cross-platform: Google Photos, Amazon Photos
The Bottom Line
Transferring photos doesn’t have to be complicated. Pick the method that fits your situation:
- Quick and dirty: Email or messaging apps
- Most reliable: USB cable
- Set and forget: Cloud services (iCloud or Google Photos)
- No cables: AirDrop (Mac) or WiFi transfer apps
My recommendation: Set up cloud backup (iCloud for iPhone, Google Photos for Android) for automatic peace of mind, then use USB cable when you need to transfer everything at once.
Your photos are memories. Don’t let them disappear when your phone dies, gets lost, or fills up. Transfer them to your computer and back them up.
Today.
Not tomorrow. Not next week. Today.
Because the only thing worse than figuring out how to transfer photos is realizing you should have done it before your phone drowned in the toilet.